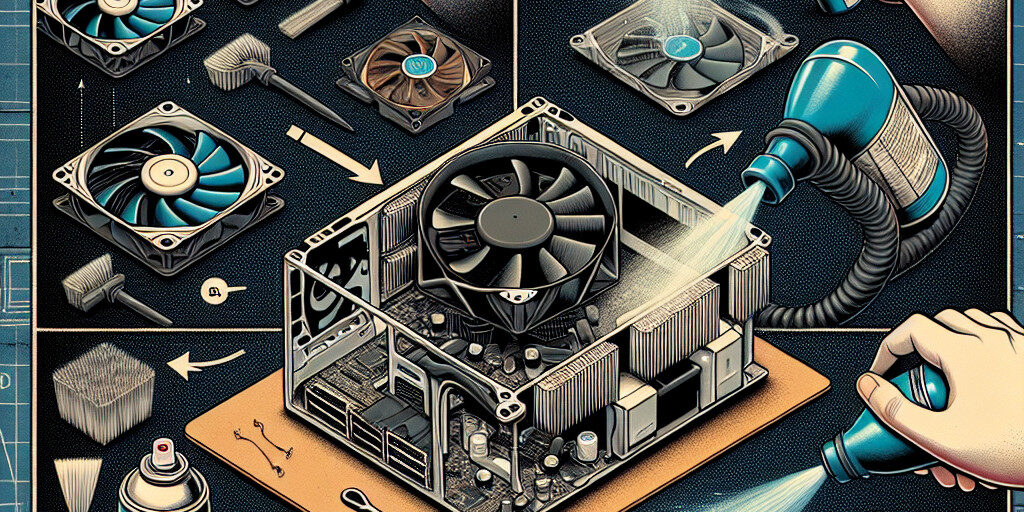
A noisy PC fan can disrupt your workflow, gaming sessions, or movie nights, turning an otherwise enjoyable experience into an annoyance. Fans are vital for maintaining your computer’s temperature, but dust, wear, or improper settings can lead to excessive noise.
In this guide, we’ll explore how to achieve PC fan noise reduction by cleaning or replacing your fan. Whether you’re dealing with rattling sounds or a loud whirring noise, these practical tips will help you restore peace and ensure your PC runs efficiently.
Understanding Why PC Fans Make Noise
PC fans are designed to keep your system cool by circulating air and preventing overheating. However, several factors can cause these fans to produce excessive noise:
- Dust Accumulation: Dust can clog the fan blades, making them work harder and causing loud vibrations.
- Worn Bearings: Over time, the bearings in the fan can wear out, leading to grinding or rattling noises.
- Improper Installation: Loose screws or misaligned fans can create unnecessary noise.
- High Workload: Running demanding tasks can cause the fan to spin faster, generating more noise.
Identifying the root cause is the first step to effective PC fan noise reduction.
When to Clean vs Replace a Noisy PC Fan
1. Indicators for Cleaning
- The fan looks visibly dusty.
- Noise reduces slightly after blowing air through the fan.
- The fan spins correctly but struggles under heavy workloads.
2. Signs That Replacement Is Necessary
- The fan doesn’t spin or only starts with a manual push.
- Persistent grinding or rattling noises occur despite cleaning.
- Physical damage, such as bent blades, is visible.
How to Clean Your PC Fan
1. Tools You’ll Need
- A can of compressed air
- Microfibre cloth
- Isopropyl alcohol (optional)
- A small brush or cotton swabs
2. Step-by-Step Cleaning Guide
- Power Off Your PC: Ensure your computer is completely shut down and unplugged before starting.
- Access the Fan: Open the PC case by unscrewing the side panel.
- Remove Dust:
- Use compressed air to blow away loose dust.
- For stubborn debris, gently clean with a microfibre cloth or brush.
- Clean the Blades:
- Dampen a cloth with isopropyl alcohol to wipe the blades carefully.
- Reassemble Your PC: Secure the fan and side panel before powering the system back on.
How to Replace Your PC Fan
1. Choosing the Right Fan
- Compatibility: Ensure the fan size matches your PC case (e.g., 120mm or 140mm).
- Airflow Rating: Look for fans with high CFM (cubic feet per minute) for better cooling.
- Noise Levels: Choose fans with low decibel (dB) ratings for quieter performance.
2. Installing a New PC Fan
- Remove the Old Fan: Unscrew the fan and disconnect its power cable from the motherboard.
- Install the New Fan:
- Align the new fan with the mounting holes.
- Secure it using screws and connect the power cable.
- Test the Fan: Power on your PC to ensure the new fan operates smoothly.
Additional Tips for Silent PC Cooling
1. Adjusting Fan Settings
- Use BIOS or fan-control software to optimise fan speed based on temperature thresholds.
- Lowering the fan’s maximum RPM can significantly reduce noise.
2. Using Anti-Vibration Mounts
- Replace standard screws with rubber mounts to absorb vibrations and minimise noise.
3. Improving Airflow in Your PC Case
- Arrange cables neatly to avoid obstructing airflow.
- Consider adding more case fans for better ventilation, reducing the workload on individual fans.
Conclusion and Call to Action
Excessive fan noise can disrupt your computer experience, but it’s a fixable issue. Whether you choose to clean your fan or replace it entirely, the steps outlined in this guide will help you achieve effective PC fan noise reduction.
Call to Action:
Need help with a noisy PC? Contact Perth Computer Experts for professional cleaning, fan replacement, and optimised cooling solutions. Our skilled technicians are ready to help you maintain a quieter and more efficient computer. Don’t let fan noise disrupt your work or play—reach out today!


